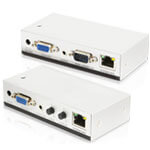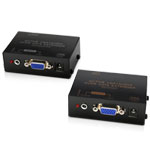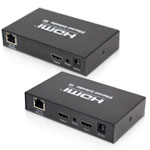


CH-U331TX&RX HDMI/VGA VoIP Transmitter and Receiver (with USB/KVM Extension)
Product Features
Compliance Standards
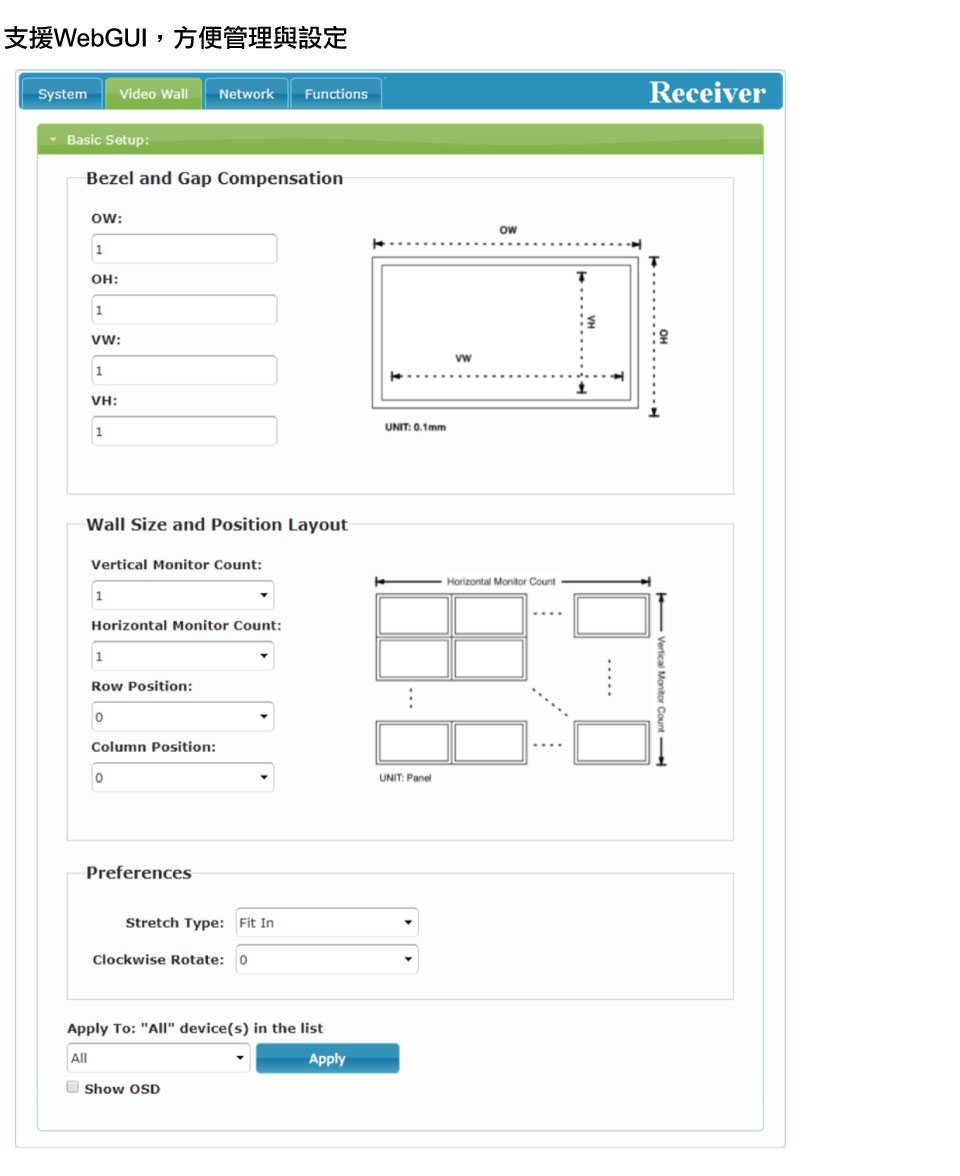
Supports panel control
4K@60Hz
Over IP
Made in Taiwan
Product Introduction
File Download
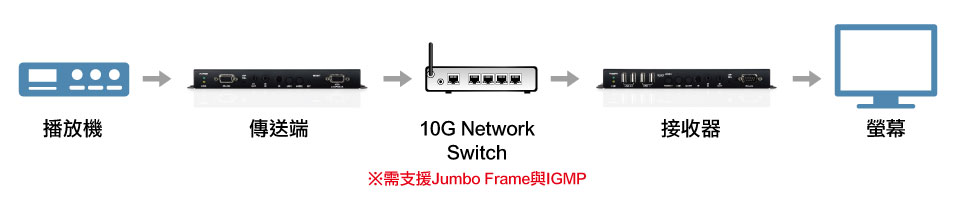
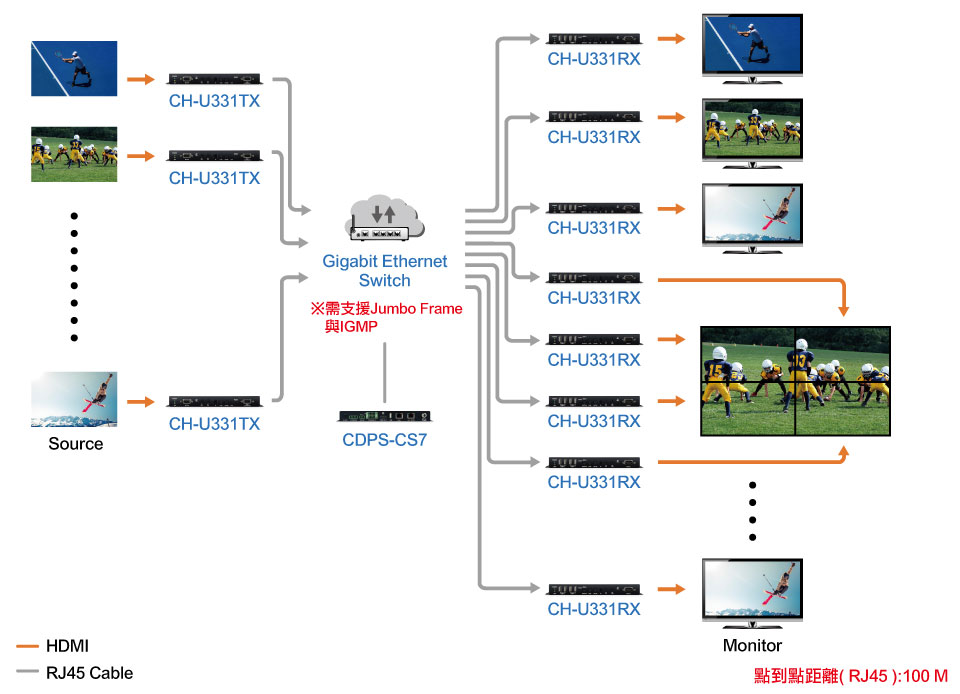
AV over IP solutions (as shown in the simplified architecture diagram below) enable AV transmission over IP networks, offering virtually unlimited scalability, lower cabling costs, simplified maintenance, and eliminating the limitations of traditional AV matrix systems.
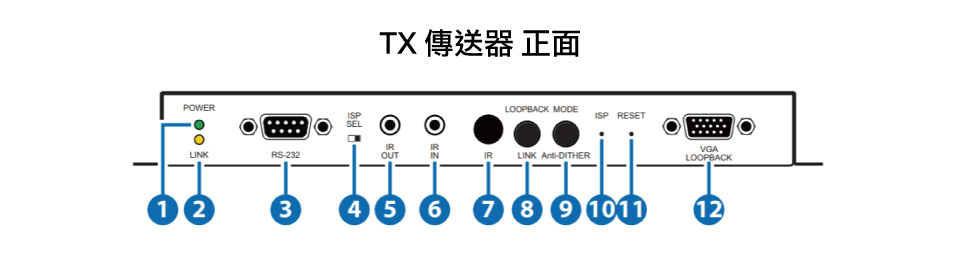
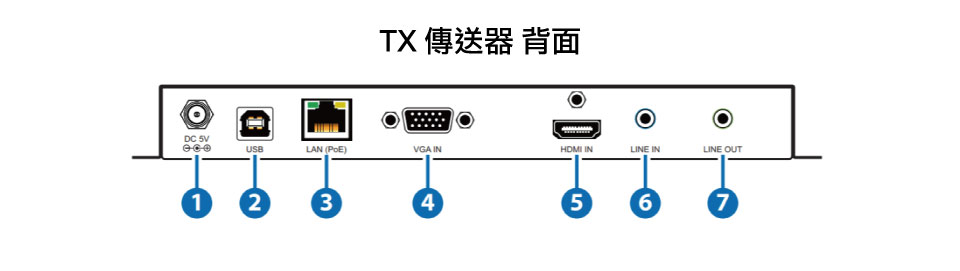
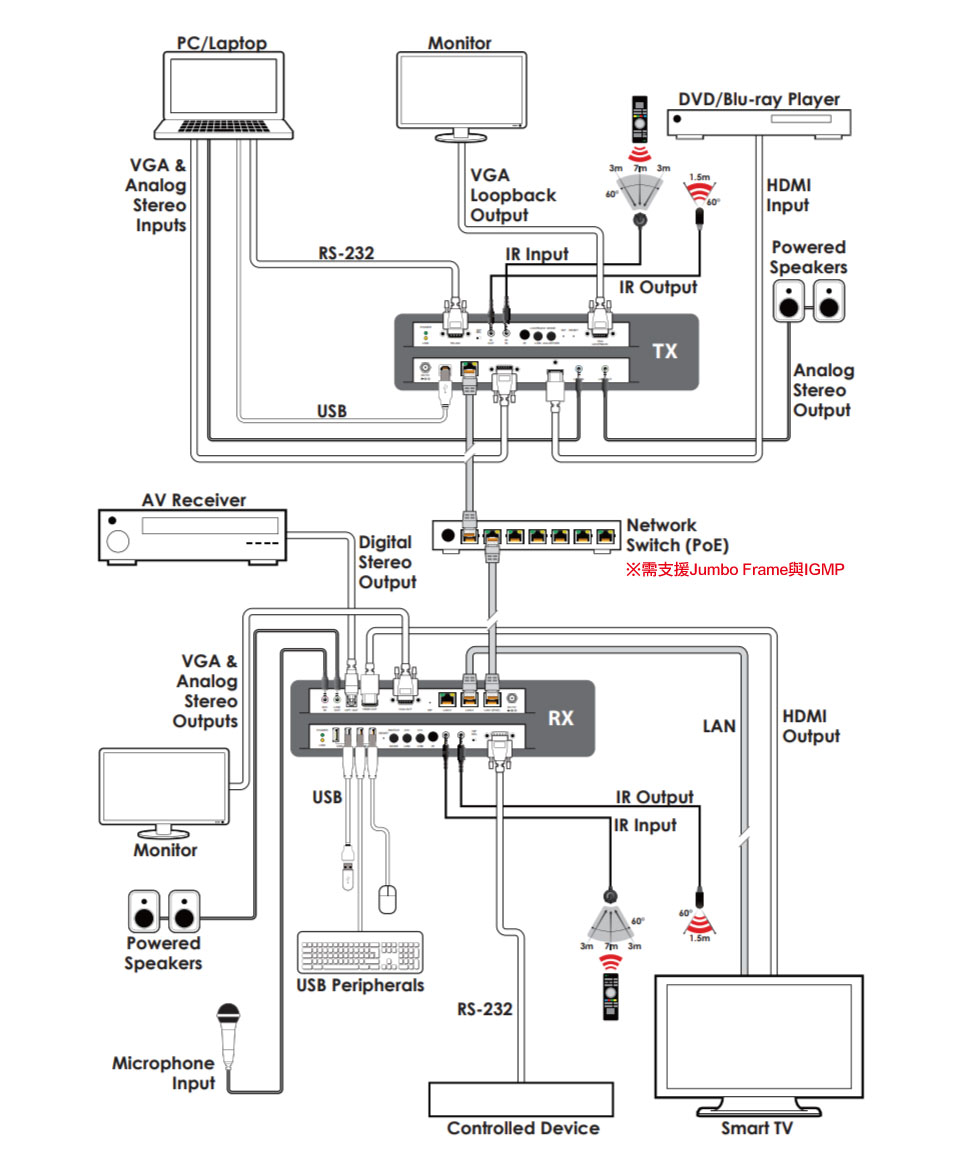
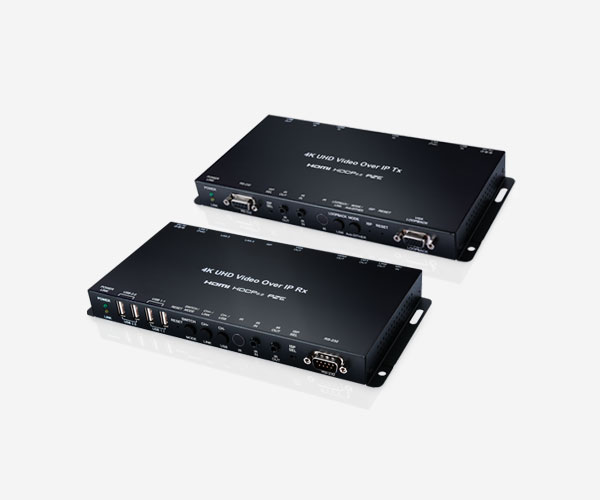
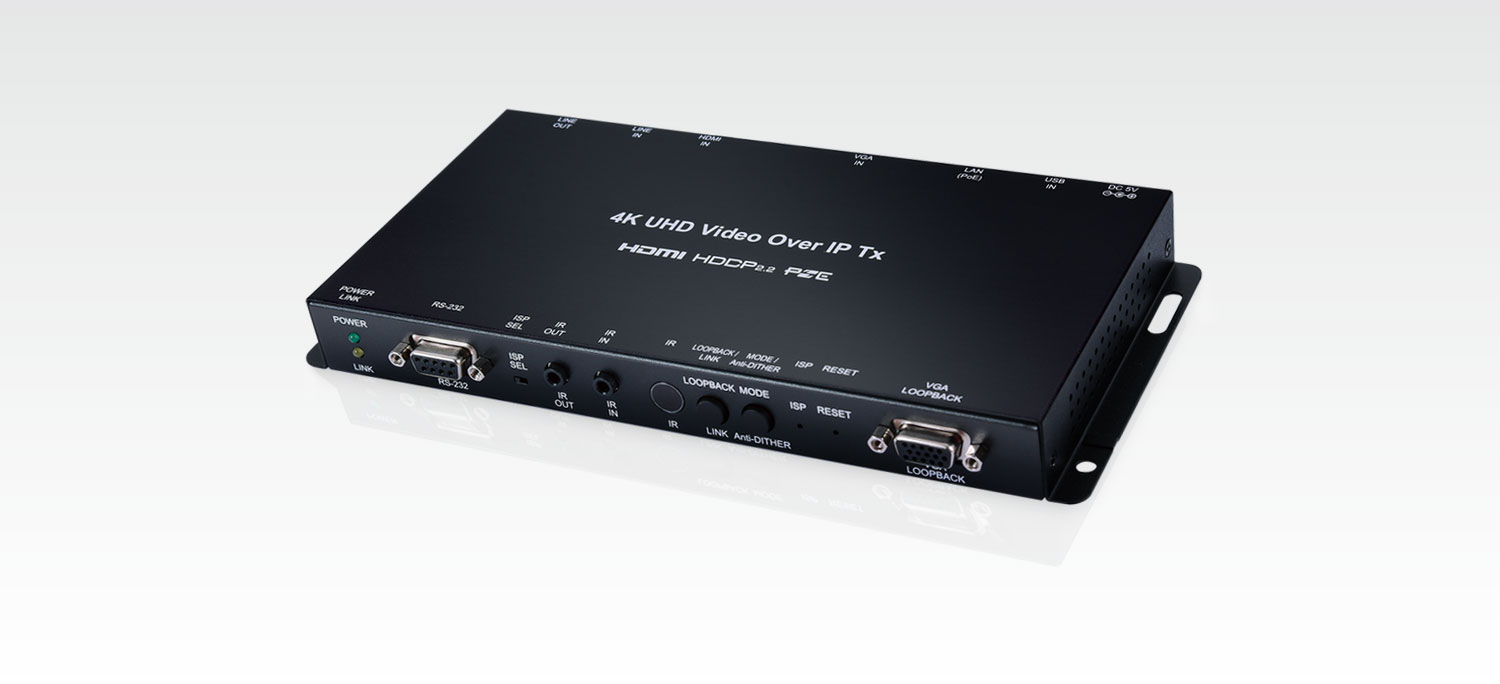
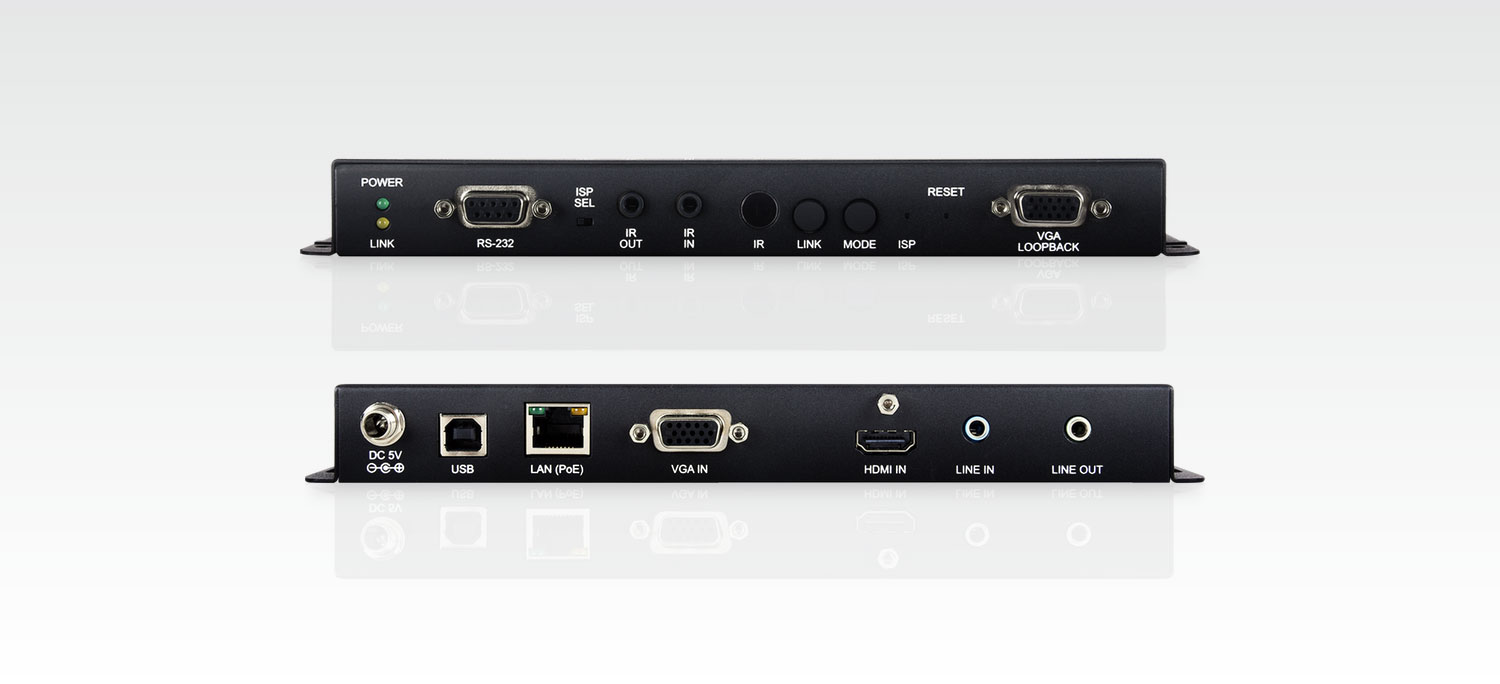
CH-U331TX:
HDMI/VGA VoIP Transmitter (Supports USB/KVM Extension) x1
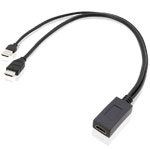
3.5mm to IR Extender x1
3.5mm to IR Emitter x1
5V/2.6A DC Power Supply x1
User Manual x1
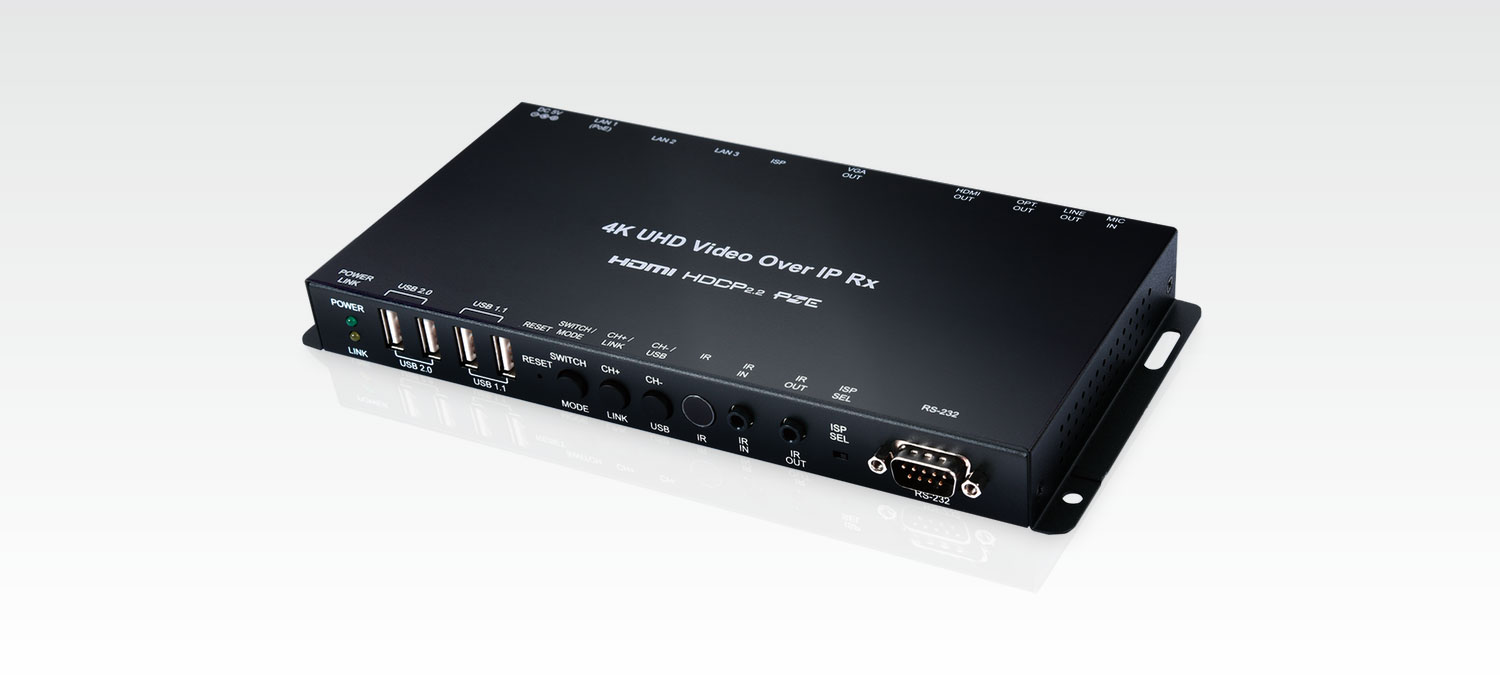
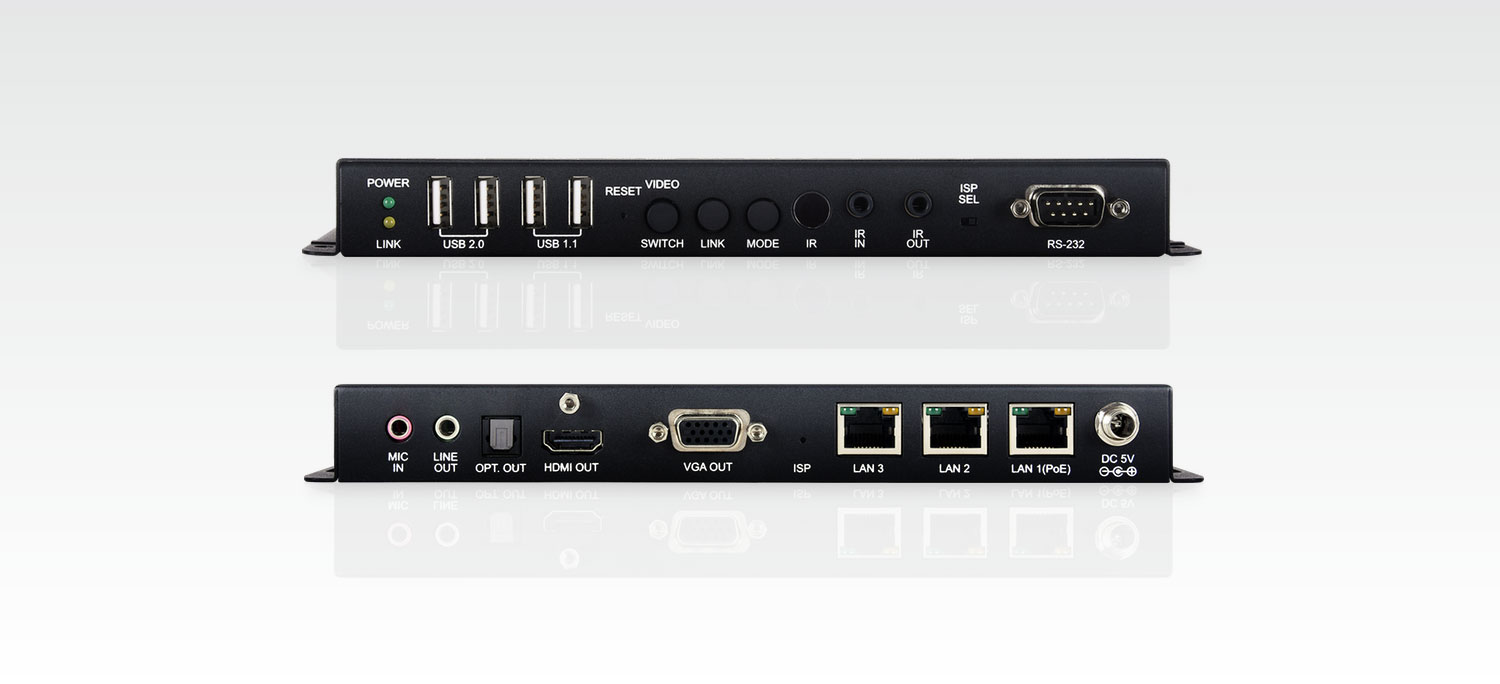
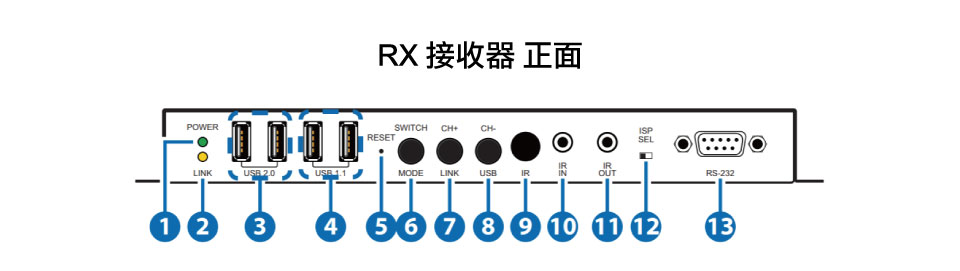
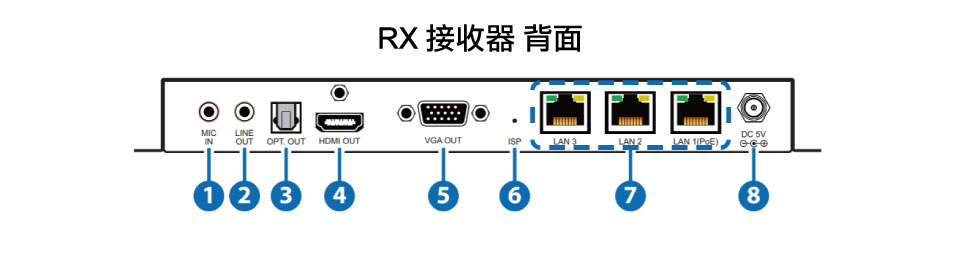
CH-U331RX:
HDMI/VGA VoIP Receiver (Supports USB/KVM Extension) x1
3.5mm to IR Extender x1
3.5mm to IR Emitter x1
5V/4A DC Power Supply x1
Power Cord x1
User Manual x1
※The product specifications and accessories mentioned in the user manual are for reference only. Any changes will not be notified in advance. UPMOST reserves the right to modify product design, accessories, and drivers.
Related Products
Verification Code
Once the captcha is entered, you can download the file
Captcha entered incorrectly
Confirm Submission
The product quantity has reached the limit
A maximum of four products. If you have more than four products to compare, please remove or reselect products to compare.
Confirm